Some easy steps to change your nail art by adding it extra volume. No drawing skills are required!
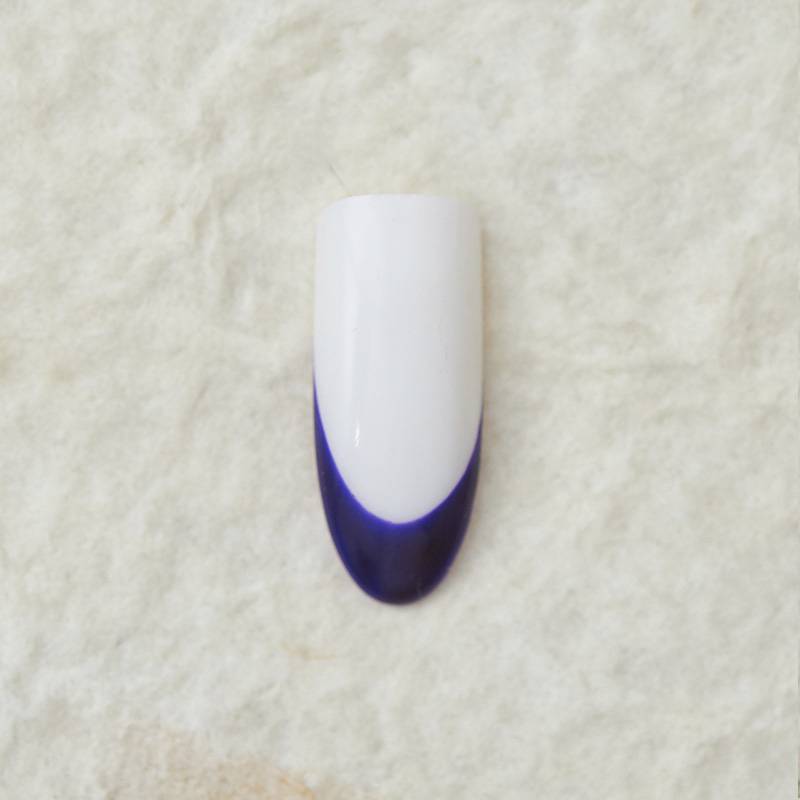
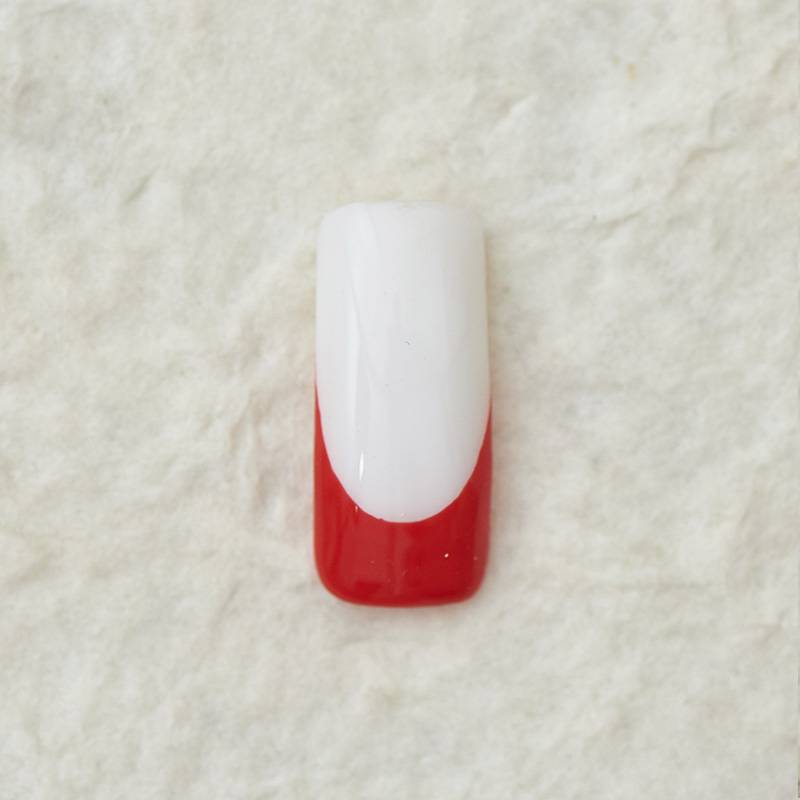
Apply White Gelpolish Base (sku 294-00) on the buffed nail plate. Dry for 2min under UV light, or 30sec under LED light.
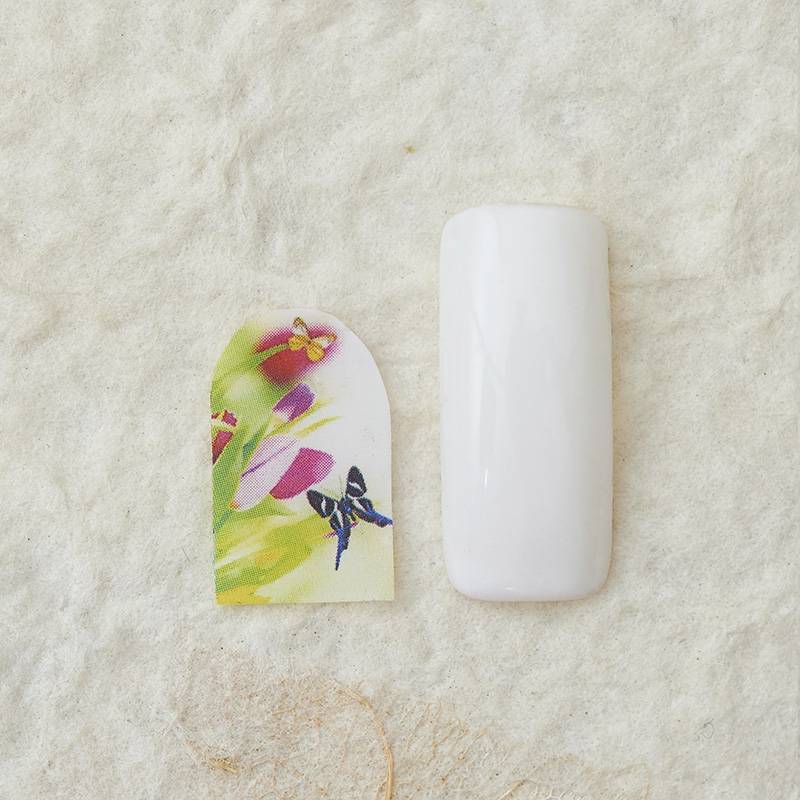
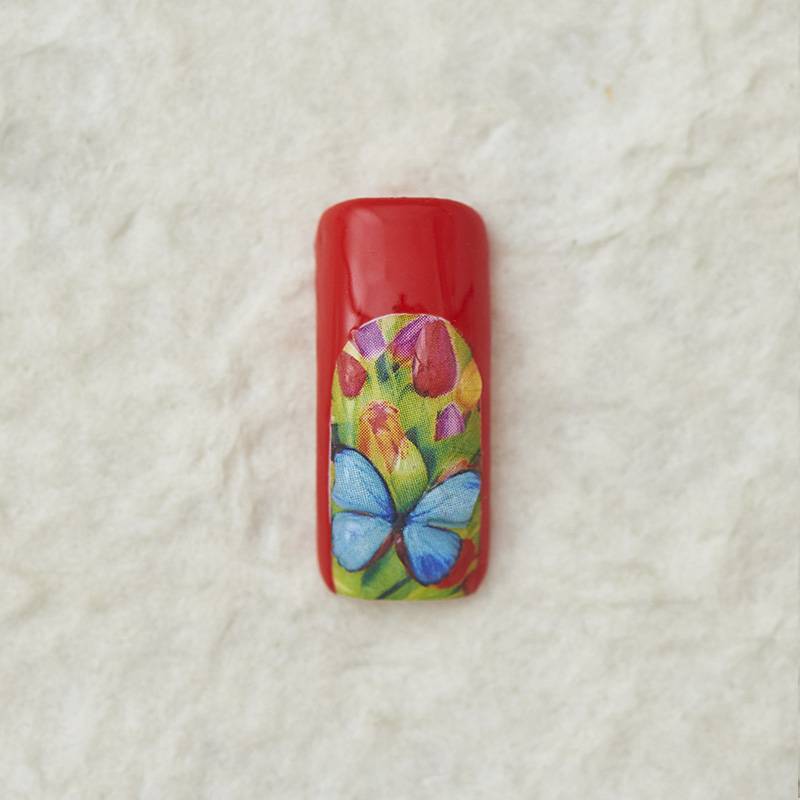
Put a cut piece of slider on the sticky layer. Apply Crystal Top gelpolish (sku 290-01). Dry for 2min under UV light, or 30sec under LED light.
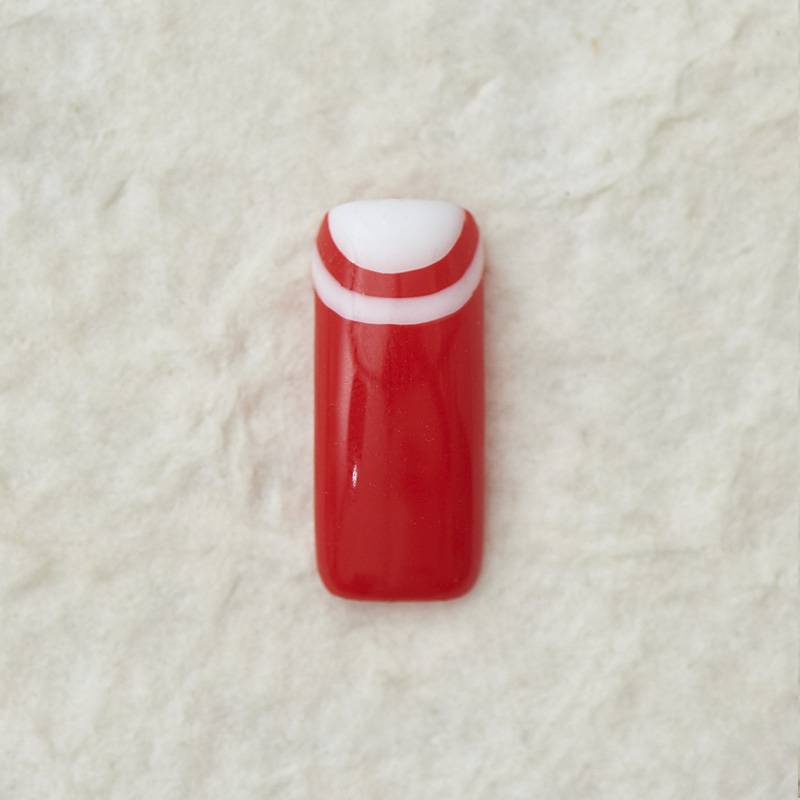
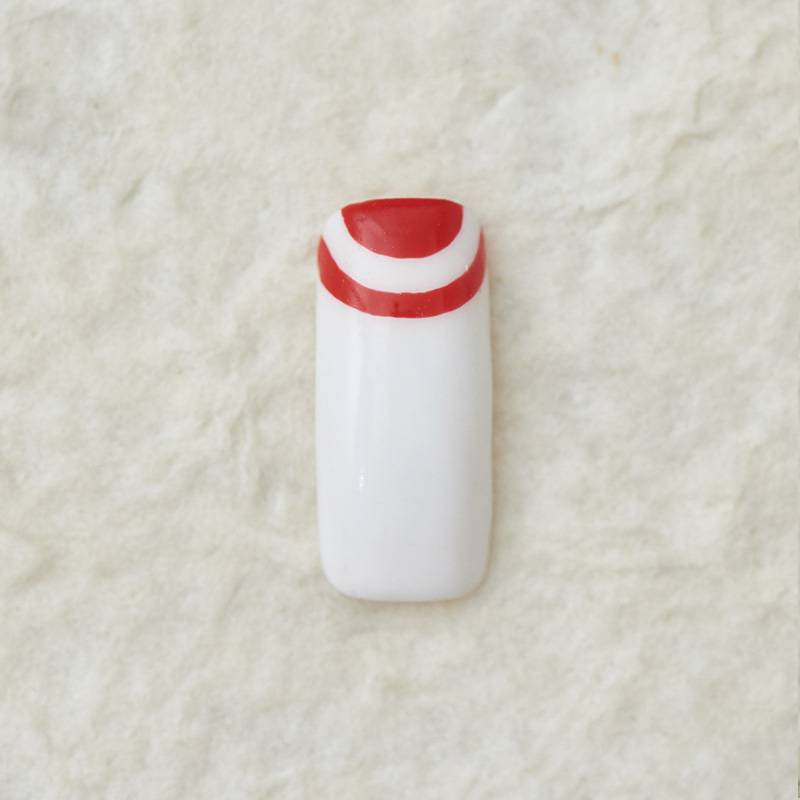
Draw a french area with red gelpolish BASIC San-Marino (sku 290-53). Dry for 2min under UV light, or 30sec under LED light.
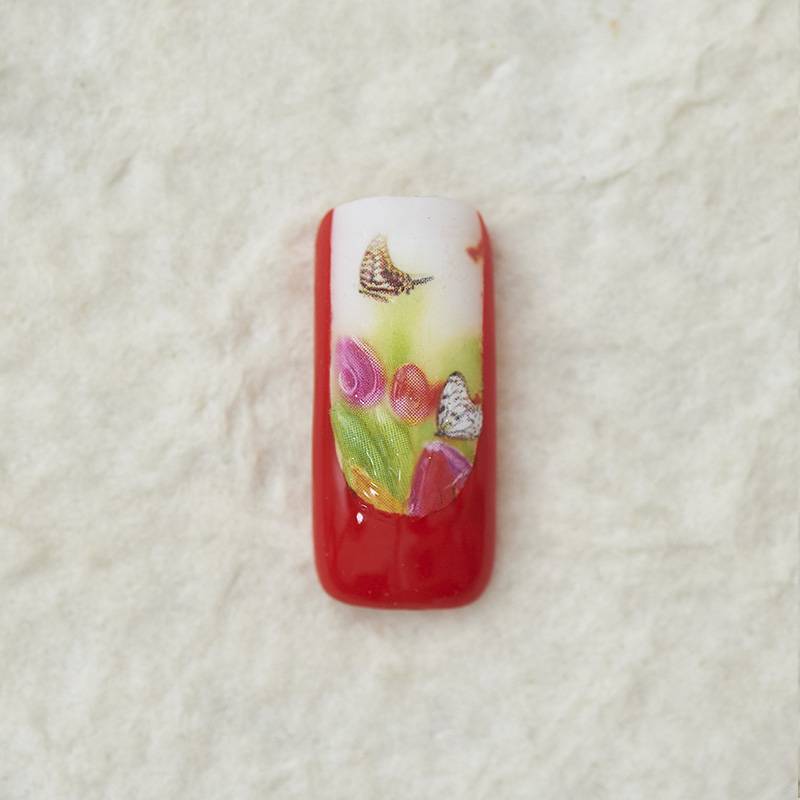
Fix the nail art with Crystal Top gelpolish (sku 290-01). Dry for 2min under UV light, or 30sec under LED light. Remove the sticky layer.

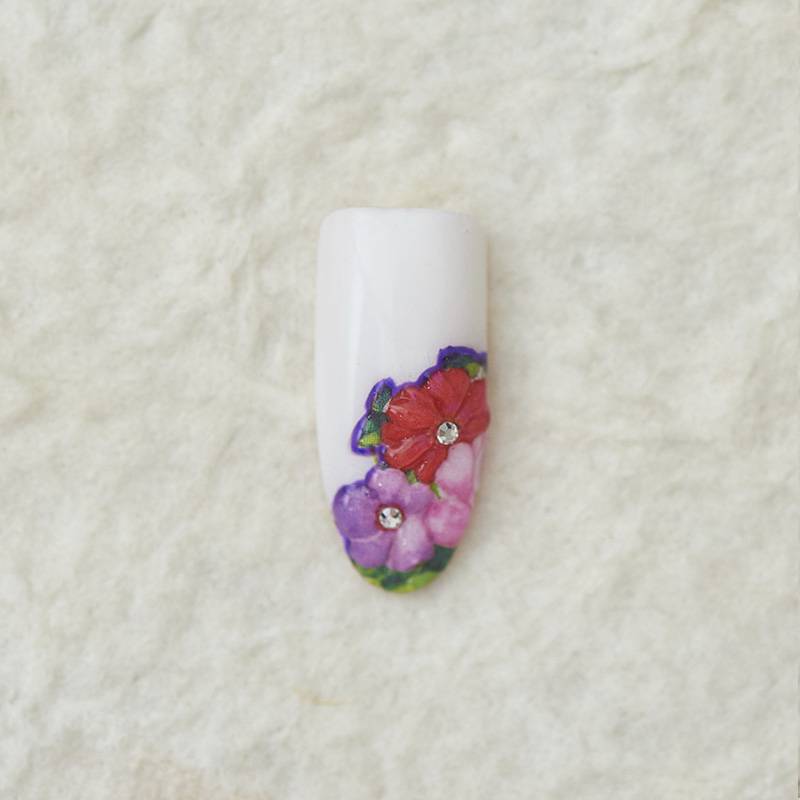
Now use Crystal Top gelpolish (sku 290-01) to apply small drops on the elements of the picture (butterflies, flowers, etc). The viscosity of Crystal Top gelpolish (sku 290-01) will let you do this easily. If you want, use a thin brush for this. Dry for 2min under UV light, or 30sec under LED light. Remove the sticky layer. The 3D nail art is now ready. You see that top gelpolish drops work like magnifying glass for the slider, all the elements are more visible and have a nice 3D volume.

SEE HOW YOU CAN CREATE 3D ON ALL THE NAILS:
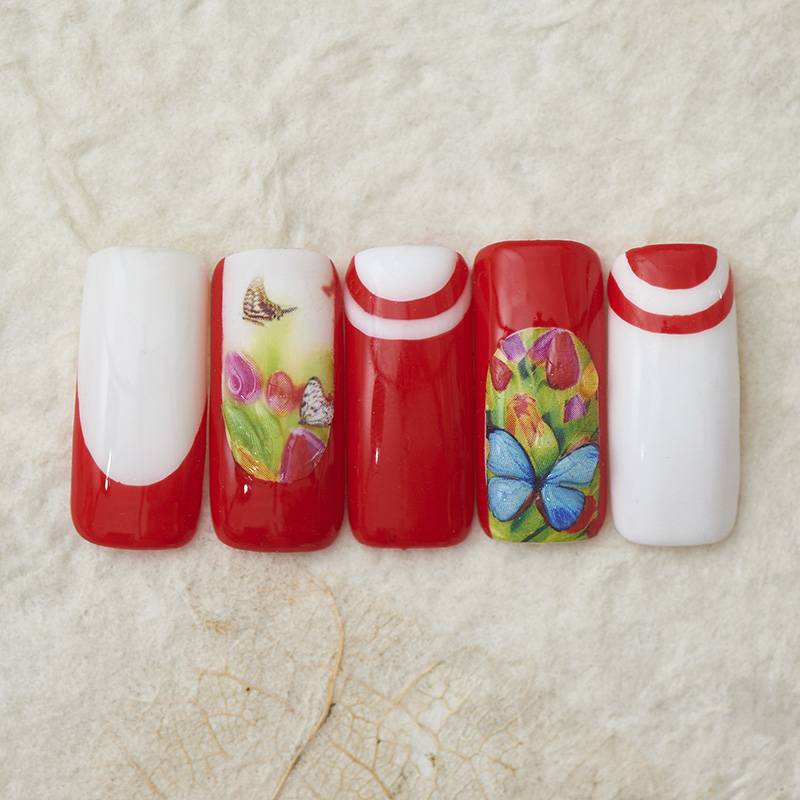
LET’S TRY ANOTHER SLIDER TO CREATE SIMILAR NAIL ART: